

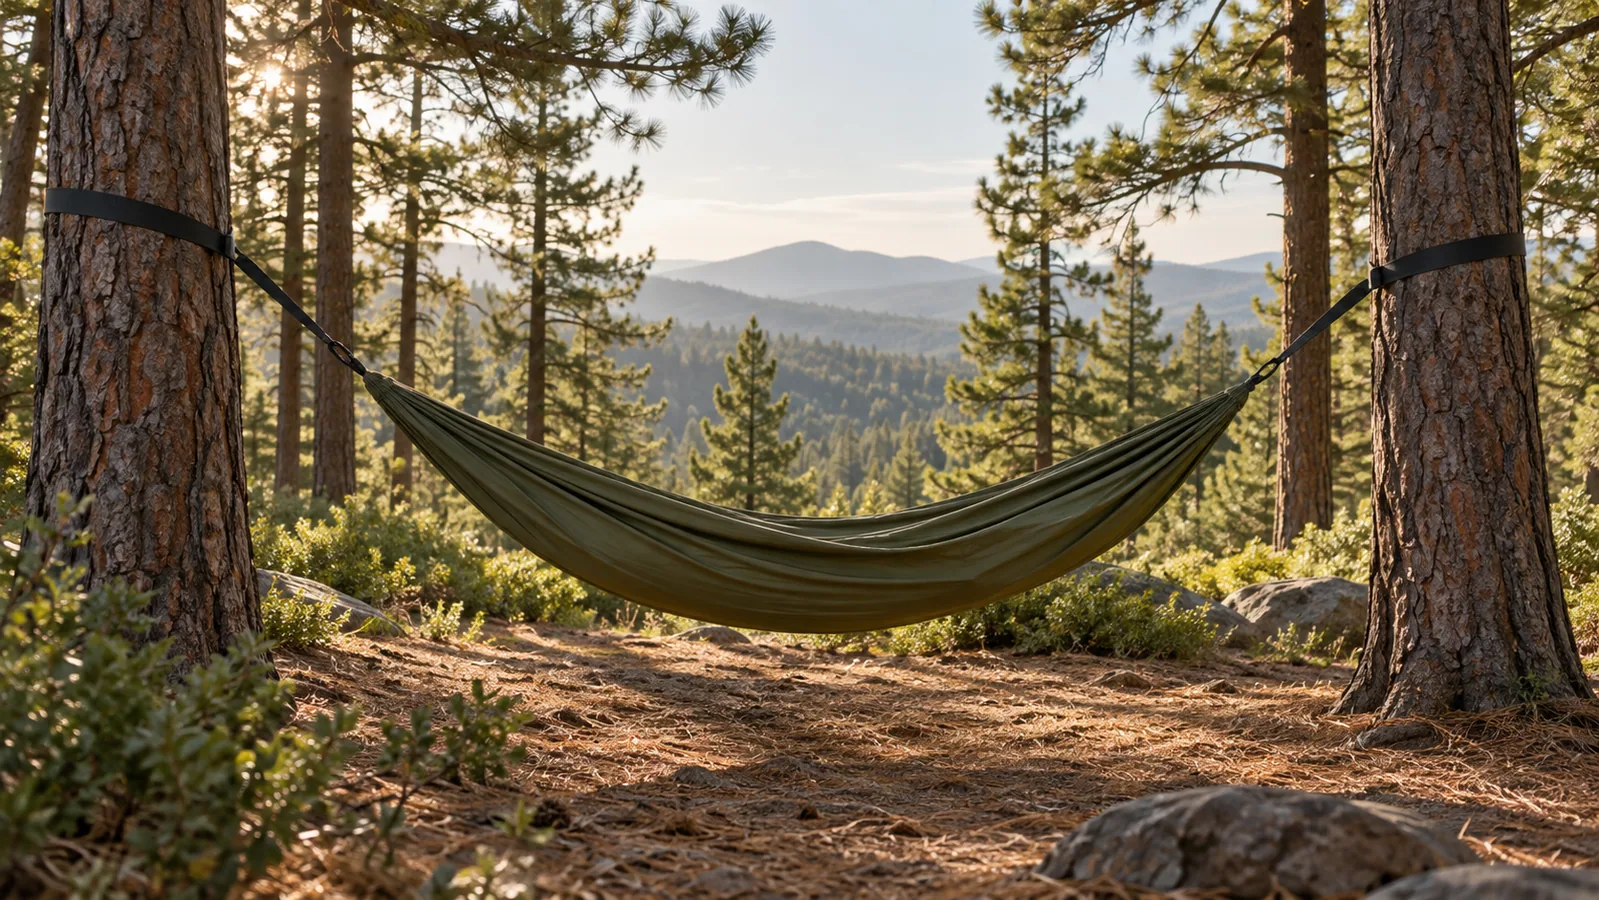
A hammock can be a camp chair, a place for a nap, or your bed for a week on the trail. Those are three different jobs. I would choose a wide, simple sling for the first two. For the third, I want a bed that fits, a bug net that stays clear of my face, and a plan for cold air under my back.
The best camping hammocks make those choices easy to see. Some come with a rain fly and suspension system. Others give you a good hammock body and let you build the rest. The low price on a bare hammock can be fair value, but it is not the price of a full shelter system.
My first choice for regular nights out is the Blackbird XLC. I like its long bed and small details that serve a clear purpose. For a first hammock setup bought in one order, the Kammok Mantis UL makes more sense. And if you already have a tent, the ENO DoubleNest gives you a simple spot to read without turning a nap into a gear project.
The right camping hammock at a glance
| Hammock | Best fit |
|---|---|
| Warbonnet Blackbird XLC | A roomy overnight bed to build around |
| Kammok Mantis UL | A bundled hammock tent with a rain fly |
| Hennessy Ultralite Backpacker Zip | A compact shelter for a smaller sleeper |
| Hammock Gear Circadian Pro | A choice of 11-foot or 12-foot bed |
| ENO DoubleNest | Lounging beside a tent or at home |
| Wise Owl DoubleOwl | A low-cost hammock with straps |
| Warbonnet Ridgerunner | An open bed held apart by spreader bars |
1. Warbonnet Blackbird XLC: my overnight starting point

A backpacking hammock with room to settle in
The Blackbird XLC has an 11-foot hammock body, an asymmetric foot box, and a storage shelf beside the bed. I like that mix. Space for your feet helps the bed feel less like a narrow sling, while a shelf gives your headlamp a home.
The current Gen 3 design has a removable bug net. The shelf and foot space remain when the net comes off. That lets you keep the useful parts of the layout on a clear evening when you want an open view.
Choose the fabric for your body
The single-layer 40D model has a listed 250-pound comfort limit and a 300-pound maximum. Heavier or double-layer choices have other limits. I would use the comfort guidance to narrow the choice, then check the limit for the exact fabric and suspension system in the order.
A high weight limit alone would not win me over. I want a backpacking hammock that feels right for a full night, with enough room to turn and no need to brace my feet against tight cloth.
The shelf has real appeal
In a long-term owner's account, the shelf and buckle suspension stand out alongside sleep comfort. That account concerns an older XLC, so it cannot prove how the new version will age. Still, it shows why small storage details matter once the novelty of hammock camping wears off.
Build the rest of the shelter
A tarp and bottom insulation add to the purchase. Pick the suspension option with care too. I would price the whole setup before choosing a fabric color. A good bed is the center of the kit, but a dry bed needs more than cloth and a bug net.
I would start here for a roomy overnight bed, then choose the suspension, tarp, and insulation to suit the trip.
Reasons to buy: Long bed with extra foot space; Useful shelf beside the sleeper.
Keep in mind: Final cost depends on the shelter parts you add.
2. Kammok Mantis UL: less shopping for separate parts

A lightweight hammock tent in one kit
The Kammok Mantis UL brings the hammock body, mesh canopy, rain fly, tree straps, and hardware together. That is its strongest selling point to me. You spend less time checking whether a separate bug net and tarp will fit.
Kammok lists a packed weight of 2 pounds 4 ounces. Its lower trail-weight figure leaves out some packed parts. I would use the packed figure for a first comparison, then make a packing list for the exact trip.
Check the ten-foot bed first
The bed is 10 feet long and 56 inches wide, with a 300-pound weight limit. A tall sleeper should compare that space with an 11-foot or 12-foot backpacking hammock before buying. Saving a few ounces is poor value if your feet never find a relaxed spot.
I would choose the Kammok Mantis for a buyer who likes a tidy shelter system and fits its bed well. I would choose the XLC for someone who wants more say in the sleep setup.
A complete kit still needs warmth
The included rain fly handles one part of the weather problem. It does not replace a sleeping pad or underquilt. Your sleeping bag also remains a separate choice.
Think of this as a bundled shelter, then add the layers that suit the night's low. That keeps a first hammock camping order simple without confusing shelter coverage with warmth.
The Kammok Mantis UL is my choice when buying the main shelter parts together matters more than choosing each one.
Reasons to buy: Rain fly and suspension included; Low packed weight for a shelter kit.
Keep in mind: Ten-foot bed may feel short to some tall sleepers.
3. Hennessy Ultralite Backpacker Zip: a compact, fitted shelter

Best for a smaller sleeper
The Hennessy Ultralite Backpacker Zip is rated for people up to 6 feet tall and 200 pounds. Those limits are the first things I would check. This is a focused backpacking hammock, not a roomy choice for every body.
Its asymmetric shape supports a diagonal lie. A side zipper opens the attached mosquito net, and a structural ridgeline helps keep the bed's curve consistent. A detachable rain fly, support ropes, protective webbing straps, and packing sack are part of the package.
Small package, clear trade-offs
The appeal is a compact shelter system with fewer pieces to match yourself. The trade-off is less freedom over the basic fit. I would not buy close to the size limit without a chance to check the feel and the seller's return terms.
A backpacking hammock can meet a weight rating and still feel too small. Shoulders, sleeping position, and how much you move all change the answer. I would give those things more weight than a tiny packed bundle.
Allow time to learn the suspension system
Practice the maker's rope setup before taking this camping hammock far from home. A familiar system can be quick; an unfamiliar one can eat the last light of the day.
The model is temporarily out of stock at the official store. I would confirm a delivery date before making it the bed for a planned trip.
I would consider this compact kit for a sleeper within its six-foot height and 200-pound weight limits. Check stock before planning a trip around it.
Reasons to buy: Rain fly and tree protection straps included; Side entry with a double-slider zipper.
Keep in mind: Lower size and weight limits than several other picks; Temporarily out of stock when checked.
4. Hammock Gear Circadian Pro: choose more bed length

An 11-foot or 12-foot backpacking hammock
The Hammock Gear Circadian Pro lets you choose between two bed lengths. That is useful if a shorter camping hammock leaves you hunting for room. The symmetrical shape also suits buyers who do not want a fixed diagonal direction.
Its bug net comes off fully. The hammock has a structural ridgeline, attachment points for small gear, and a double-ended stuff sack. I like a sack that lets the fabric stay packed while one end is secured.
Single or double layer?
Fabric and layer choices change the weight capacity and carry weight. A double layer hammock can hold a sleeping pad between its layers, but two layers do not turn the bed into an insulated sleeping bag.
I would buy the fabric that suits my load and intended use. The highest number on a menu is not always the right choice. Extra cloth has to go in your pack on every mile.
Check the complete order
The current order form prices tree straps and whoopie slings as add-ons. Do not assume the starting price includes a full, ready-to-hang suspension system.
For a first purchase, I would put the final order beside a simple list: hammock body, bug net, suspension, tarp, insulation. Each empty line is a part still needed. This is a good hammock for building your own kit, which makes that final check worth doing.
I would choose the Circadian Pro when bed length and fabric choice are the main concerns, while checking the exact suspension included in the order.
Reasons to buy: Two bed lengths offered; Fully removable bug net.
Keep in mind: Straps and suspension choices can add to the starting price.
5. ENO DoubleNest: my choice for car camping and naps

A double hammock with a simple job
The ENO DoubleNest is a wide nylon sling with included carabiners and an attached stuff sack. It measures 9 feet 6 inches by 6 feet 4 inches. I would choose it for reading near camp, a quiet afternoon in the yard, or a rest after a hike.
That width lets one person spread out. The 400-pound total limit does not mean two adults will sleep well side by side all night. I would treat it as a roomy solo lounger first.
Wide does not mean double layer
The DoubleNest is a double hammock by width. It is not a double layer hammock with a sleeping-pad sleeve. That distinction matters if you plan to add insulation later.
For car camping with a tent already packed, the simple hammock body is the point. You can enjoy it without paying for an integrated bug net you may not need during the day.
Price the straps with it
Tree straps are sold separately. A mosquito net and rain tarp are extra too. Once all those parts are in the cart, compare the total with a longer netted backpacking hammock.
I would keep this purchase simple. Buy it because you want a camp lounger. If overnight hammock camping becomes the main goal, choose the sleeping bed for that job from the start.
This is my pick for lazy afternoons beside a tent. I would choose a longer netted bed first for regular overnight trips.
Reasons to buy: Wide fabric bed for lounging; Simple design without an attached net.
Keep in mind: Straps, bug net, and tarp cost extra.
6. Wise Owl DoubleOwl: a low-cost way to start hanging

An affordable hammock with tree straps
The Wise Owl DoubleOwl starts at $39.99 on the official site and includes 9-foot straps, two carabiners, and a stuff sack. I like that the basic hanging parts are in the box. A low-cost hammock is less helpful if the missing straps break the budget.
The bed measures 10 feet by 6.5 feet. Its listed total weight capacity is 500 pounds. As with the ENO, I would use the extra width mainly for one person's comfort rather than plan a shared overnight bed.
Best beside a tent
This is a sensible car camping extra when you already have a place to sleep. It is also an easy way to see whether you enjoy the feel of a hammock before spending more.
The included kit has no rain fly or bug net. Add those costs before calling it a bargain backpacking hammock. A cheap first hammock setup can become quite costly if you keep changing parts.
Keep the first purchase modest
I would pair this hammock with a short, simple plan: a dry afternoon, a permitted site, and time to learn the straps. There is no need to buy every hammock accessory before you know what feels good.
If you want a permanent backyard hammock, bring it indoors between uses and check the maker's care instructions. Leaving light outdoor gear in the sun and weather is a different job from packing it for a weekend.
The included straps make this an appealing low-cost place to start, provided a lounge hammock is what you need.
Reasons to buy: Tree straps included; Wide bed at a low starting price.
Keep in mind: No included bug net or rain fly.
7. Warbonnet Ridgerunner: a different kind of bed

A bridge hammock held open by bars
The Warbonnet Ridgerunner uses a spreader bar at each end to hold the bed open. This gives it a different feel from gathered end hammocks. I would put it on the list if a deep fabric sling feels too closed around your shoulders.
The side pockets keep small items close. Netted versions have a bug net that can be opened and stored out of the way. A no-net version is also offered, so check which one you are buying.
A better shape for a sleeping pad
Warbonnet says this design works well with a standard camping pad. That makes it worth a look if you want to reuse a pad you own. Check its width against the bed instead of assuming that any wide inflatable pad will fit.
I would try the sleep position before buying. An open bed can be appealing, but it is not proof that every side sleeper will find it comfortable.
Count both spreader bars
The aluminum bars add 12 ounces per pair. They also need room beneath the rain tarp. A tarp that fits a gathered-end backpacking hammock may sit too close to the ends of these bars.
The single-layer and double-layer versions have different capacity guidance. Check the whole configuration. I would accept the extra parts if the bed felt better, but I would not call this the lightest hammock just because one body-only figure looks low.
I would try the Ridgerunner if a gathered-end bed feels too closed in, accepting the extra bars and a more specific tarp fit.
Reasons to buy: Bars hold the bed open; Side pockets keep small gear close.
Keep in mind: Bars add weight and need clearance under the tarp.
What a complete hammock camping kit needs
Start with the bed and suspension
The hammock body holds you. The suspension system connects it to the trees. Check both. A strong fabric rating cannot make weak or worn straps safe.
I would write down what is in the box before buying anything else. Some listings show a full camp scene but sell only the hammock. A photo of a rain tarp does not mean it comes with the bed.
Add a bug net where you need one
An integrated bug net saves you from matching a separate net to the bed. A removable bug net gives you more choice on calm, bug-free nights. A separate mosquito net can make sense if you own a bare hammock already.
Check the net's coverage and how you enter. A top-only bug net does not create a sealed layer under the hammock body. Keep the net away from your skin and follow local advice for the insects where you camp.
Put a rain tarp on the list
A rain tarp shelters the bed. It needs enough length and side coverage for your hang, plus room for any spreader bar. Match the fly to the hammock's hung shape, not just its packed size.
I would favor coverage over a tiny weight saving for a first wet trip. A few more inches of dry space can make it easier to get in, change layers, and keep your pack sheltered.
Plan insulation above and below
Your sleeping bag loses loft where your body presses it flat. In a hammock, cold air can move under that thin layer. An underquilt hangs below the bed so its fill can stay lofted.
A sleeping pad is another way to add bottom insulation. It can be a lower-cost start if you own one, though fit takes care. Neither a bug net nor double layer fabric replaces insulation suited to the night's low.
Small parts still count
Tent stakes, guy lines, a stuff sack, and repair items all add to the packed load. I would check the kit on the floor once, with every part laid out. That catches missing pieces better than a long product name that says “all-in-one.”
REI's guide to hammock camping gives a useful overview of how these parts work together. Use your own hammock's instructions for the exact setup.
How I would choose a backpacking hammock
Fit comes before the lightest hammock
A backpacking hammock has to carry well and let you rest. I would settle the second part first. A tiny hammock that saves space but keeps your knees bent is a poor trade for a long route.
Try the full sleep position, not just a quick sit. Put your shoulders where they will be at night. Turn as you normally would. Check whether the hammock body gives you room without forcing the bug net against your face.
Length and width do different jobs
More width can help you lie across the bed at an angle. More length can give a tall body room to settle. These are linked, but they are not the same measurement.
I would compare like designs. A 7-foot spreader-bar bed and a 10-foot gathered-end bed use space in different ways. A single length rule cannot tell you which will feel better.
Compare a full shelter system
A bare ultralight hammock is not the same load as a complete kit with a rain fly and bug net. Add the suspension system, insulation, tent stakes, and packing bags on both sides of a comparison.
Use listed weights to plan, then weigh your own packed kit once it arrives. A measured weight means something only when the list of included parts is clear. I would not treat a body-only weight as the total for a backpacking hammock.
Think about every night on the route
A hammock needs suitable anchors where hanging is allowed. A wooded trail can still end at an open campsite. Check the overnight stops, not just the trees beside the first mile.
If one night has no legal place to hang, your shelter plan needs an answer before departure. I would not count on finding two trees at dusk simply because the map looks green.
Spend on the parts that fix a real problem
A better-fitting bed, a useful bug net, and reliable rain coverage would come before extra pockets in my budget. I would add small hammock accessories only after a short trip shows what I miss.
A gear sling can keep a few items within reach. It does not need to become a second backpack full of things to manage. The best hammock for you should make camp simpler.
Get the suspension system right
Use wide webbing straps
Use tree-friendly straps that spread the load, and follow the site's width rules. Bare cord can cut into bark. The straps must also be rated for the load and suited to the hammock's connection points.
Local rules win over a product label. Some parks restrict hammocks even when you have wide webbing straps. Check permission before you choose the campsite.
Choose a system you can adjust
Buckle straps can be easy to understand. Whoopie slings save bulk but ask you to learn a different adjustment. Neither choice is useful if you cannot set it up with tired hands as the light fades.
I would practice with the suspension system that arrives in the box. Learn which parts hold your weight and which lines only hold the bug net or tarp. They are not interchangeable.
Leave some curve in the hammock body
For many gathered end hammocks, the starting point is a strap angle near 30 degrees. Pulling the bed flat and tight can make its sides feel hard and put more force on the anchors. Follow the maker's guidance for your design.
A structural ridgeline helps control the curve, but it does not remove the need for a sound hang. Raise or lower the straps on the trees as needed. Do not solve every fit problem by pulling harder.
Keep the bed low
Hang close to the ground, over a clear surface, with no sharp objects below. Check the trees and the space above for dead limbs. Enter gently and inspect the suspension system before trusting it with a full night.
There is no comfort prize for hanging high. A low hammock setup is easier to enter, easier to reach from the ground, and less likely to turn a small slip into a long fall.
Sleeping pad or underquilt?
A pad can use gear you already own
A foam pad is simple and cannot lose air through a puncture. An inflatable pad packs smaller, but it may shift or buckle in a curved bed. Try it at home with the hammock under load.
Check your shoulders as well as your back. A narrow pad can leave your sides outside the warm area. A double layer hammock may help hold the pad in place, but it does not make the pad wider.
An underquilt follows the bed
An underquilt wraps beneath the hammock. It should sit close without being pressed flat. Gaps can let cold air move between the quilt and your back.
I would spend time on the fit before buying a warmer quilt. A loose end can feel like too little insulation even when the quilt is right for the conditions. Follow its maker's setup steps with someone in the hammock.
Cold-weather hammock camping takes more planning
Winter camping is a full shelter problem. You need warmth below, warmth above, a rain tarp suited to wind and snow, and dry clothes. A top cover may add shelter, but it is not a substitute for those layers.
Build up to cold nights with short trips and an easy way to leave. I would learn the fit in mild weather first. A new hammock, new insulation, and a remote winter route make too many unknowns at once.
Choose a rain fly for the weather
Check the ends of the bed
The hammock's ends should sit well under the rain fly. Wind can drive rain past a tarp that looks fine in still air. Check the whole pitched shelter from the side and both ends.
I would keep the fly low enough for the forecast while leaving useful air flow. A high, open pitch is pleasant on a calm evening. It is less appealing when rain starts blowing sideways.
Give a spreader bar some space
A spreader bar can push toward the tarp when you get into the hammock. Check that clearance with the bed loaded. A dry, empty setup can change shape once you lie down.
For a bridge design, I would buy a rain tarp the maker confirms will fit. Guessing from a photo is not worth a hole in the fly or a wet sleeping bag.
Keep wet gear out of the sleep space
Put wet straps and the rain fly where they will not soak your insulation in the pack. At camp, give shoes and damp layers a clear place under cover.
For the walk into camp, see my guide to waterproof hiking pants. A dry shelter is only part of a comfortable wet-weather trip.
Small choices that make camp easier
Give the stuff sack a job
A double-ended stuff sack can keep the hammock off the ground as you attach the first end. An attached sack can hold light items once the bed is up. Check its intended use before putting weight in it.
I would keep a headlamp in the same place each night. You should not need to search under your back for it when you wake up.
Keep a dry pair for bed
Set aside dry sleep clothes before wet socks and trail layers spread through camp. My hiking sock guide explains how cushion and fit change the choice for walking. At bedtime, dry and loose enough to feel comfortable are my main concerns.
Do not stuff every spare layer under your body. Keep the bed clear enough to turn without rolling over hard gear or a zipper.
Pack away with the next night in mind
Check for grit, twigs, and sharp clips before packing the hammock body. Keep metal hardware from scraping the bug net. Let wet gear dry as soon as you can.
I would inspect seams, suspension, and netting at home, where there is time to fix a problem. Finding a worn strap on the first night of a backpacking trip leaves far fewer choices.
Common hammock camping questions
Can two people sleep in a double hammock?
A double hammock may hold two people within its total weight limit. That does not promise two comfortable sleeping spaces. For an overnight trip, I would plan on separate beds unless both people have tried that exact setup and like it.
Is a hammock lighter than a tent?
Sometimes. Compare the full shelter system, including the bug net, rain tarp, suspension system, and insulation. A tiny bare hammock and a fully packed tent are not a fair comparison.
Can I use a sleeping bag without a pad?
A sleeping bag alone may leave your back cold because your weight presses its fill flat. Plan for bottom insulation that suits the forecast. Test the full sleep setup in mild conditions before relying on it far from help.
Do I need an integrated bug net?
It is useful where insects are active. A separate mosquito net can also work if it fits the hammock. I like an integrated bug net for a backpacking hammock because it reduces the number of loose parts to match and pack.
Are backyard hammocks suitable for backpacking?
Some portable backyard hammocks can become trail beds with the right parts. Heavy stands and large decorative designs suit a different job. Compare fit, packed bulk, and the cost of adding a bug net and rain fly before making the switch.
Is there one perfect hammock for every trip?
No. I would choose the Blackbird XLC for a tailored overnight setup, the Kammok Mantis UL for a bundled shelter, and the DoubleNest for relaxed car camping. Start with how you plan to use the bed. Then buy the parts that make that one job work well.